Restoring an Australian Classic

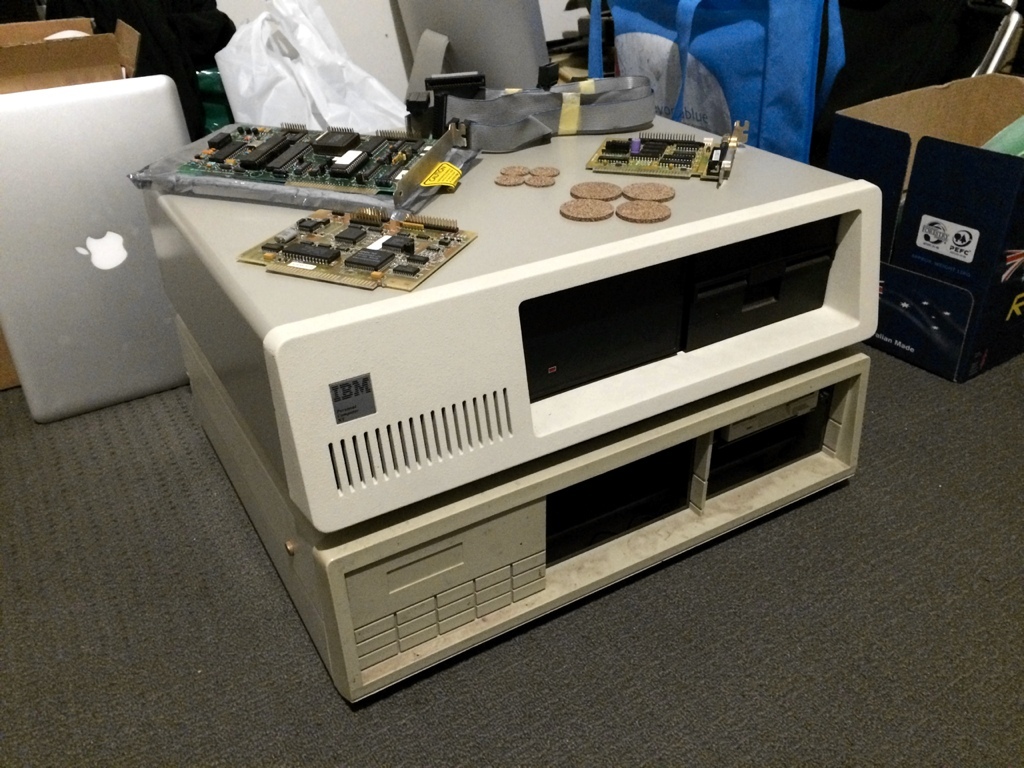
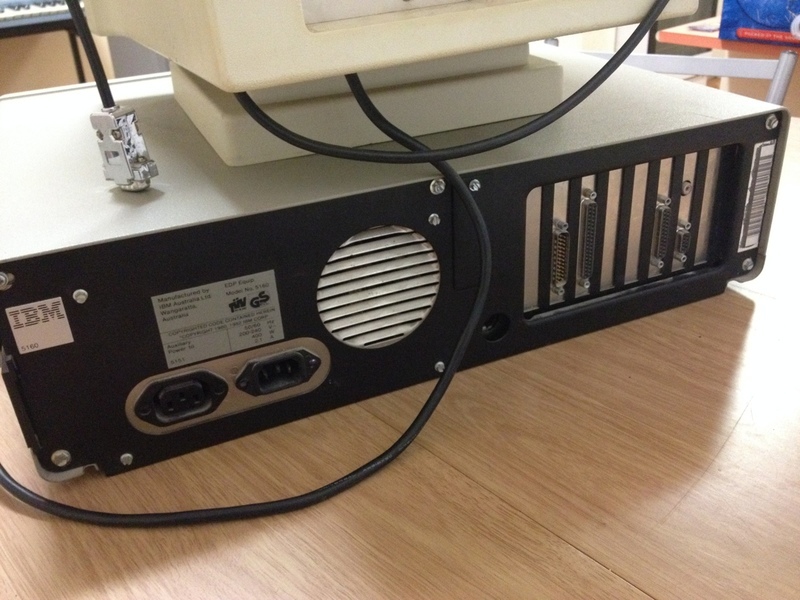
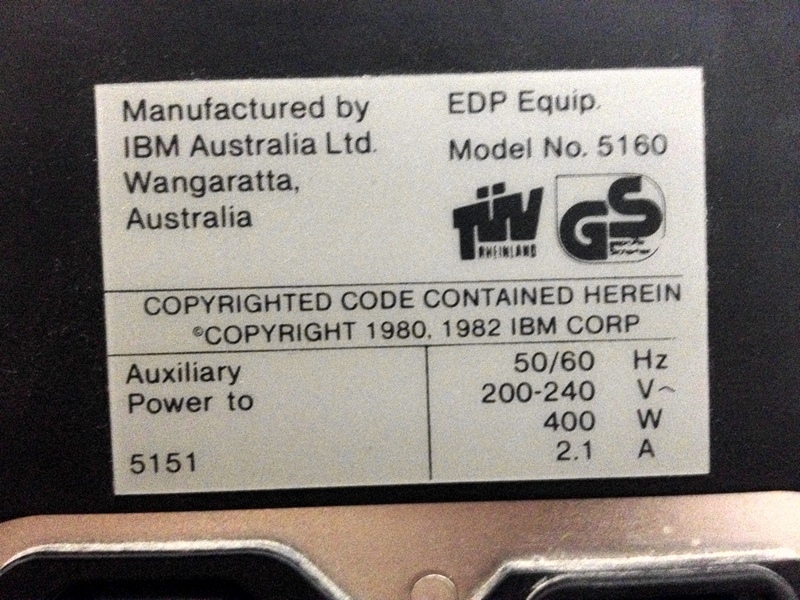
I have a real passion for electronics. I’m a Mac technician during the week, a circuit board repairer on the weekends and in between, I look for other projects to take on. Sometimes I can’t help myself. Back in March I accepted an offer to acquire an old worn out machine from TAFE. This IBM PC-XT model 5160 was manufactured in 1986 in Wangaratta, Victoria, back when IBM was manufacturing computers in Australia.

It had seen better days, covered in Limestone dust from its time used in an Adelaide Hills quarry and with all the various tool marks and abuse that comes with being used in a trade school in later life.

I decided early on to restore this machine. IBM machines of this era are becoming harder to find and this machine has a lot of history and cultural significance associated with it, as a remnant of Australia’s computer and technology manufacturing and as an icon of the personal computer revolution in its own right, as much as the Apple II and Macintosh.

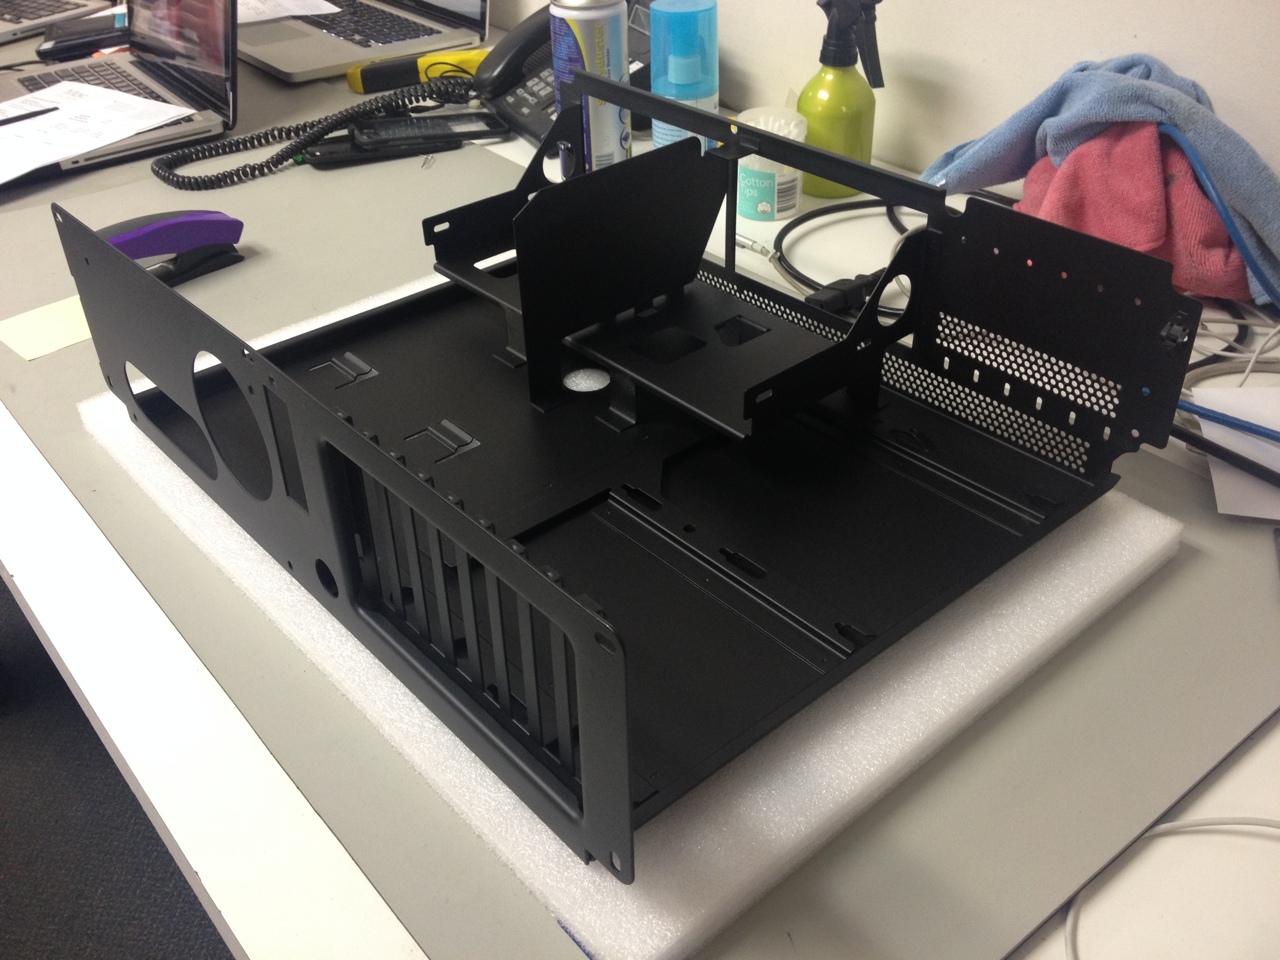
The machine was stripped to a bare metal chassis in preparation for sandblasting and repainting in the stock colour. Because my equipment and skills when it comes to painting are not that fantastic, the painting was done by an Adelaide based professional painter and powder coater. I was rather impressed with the result.

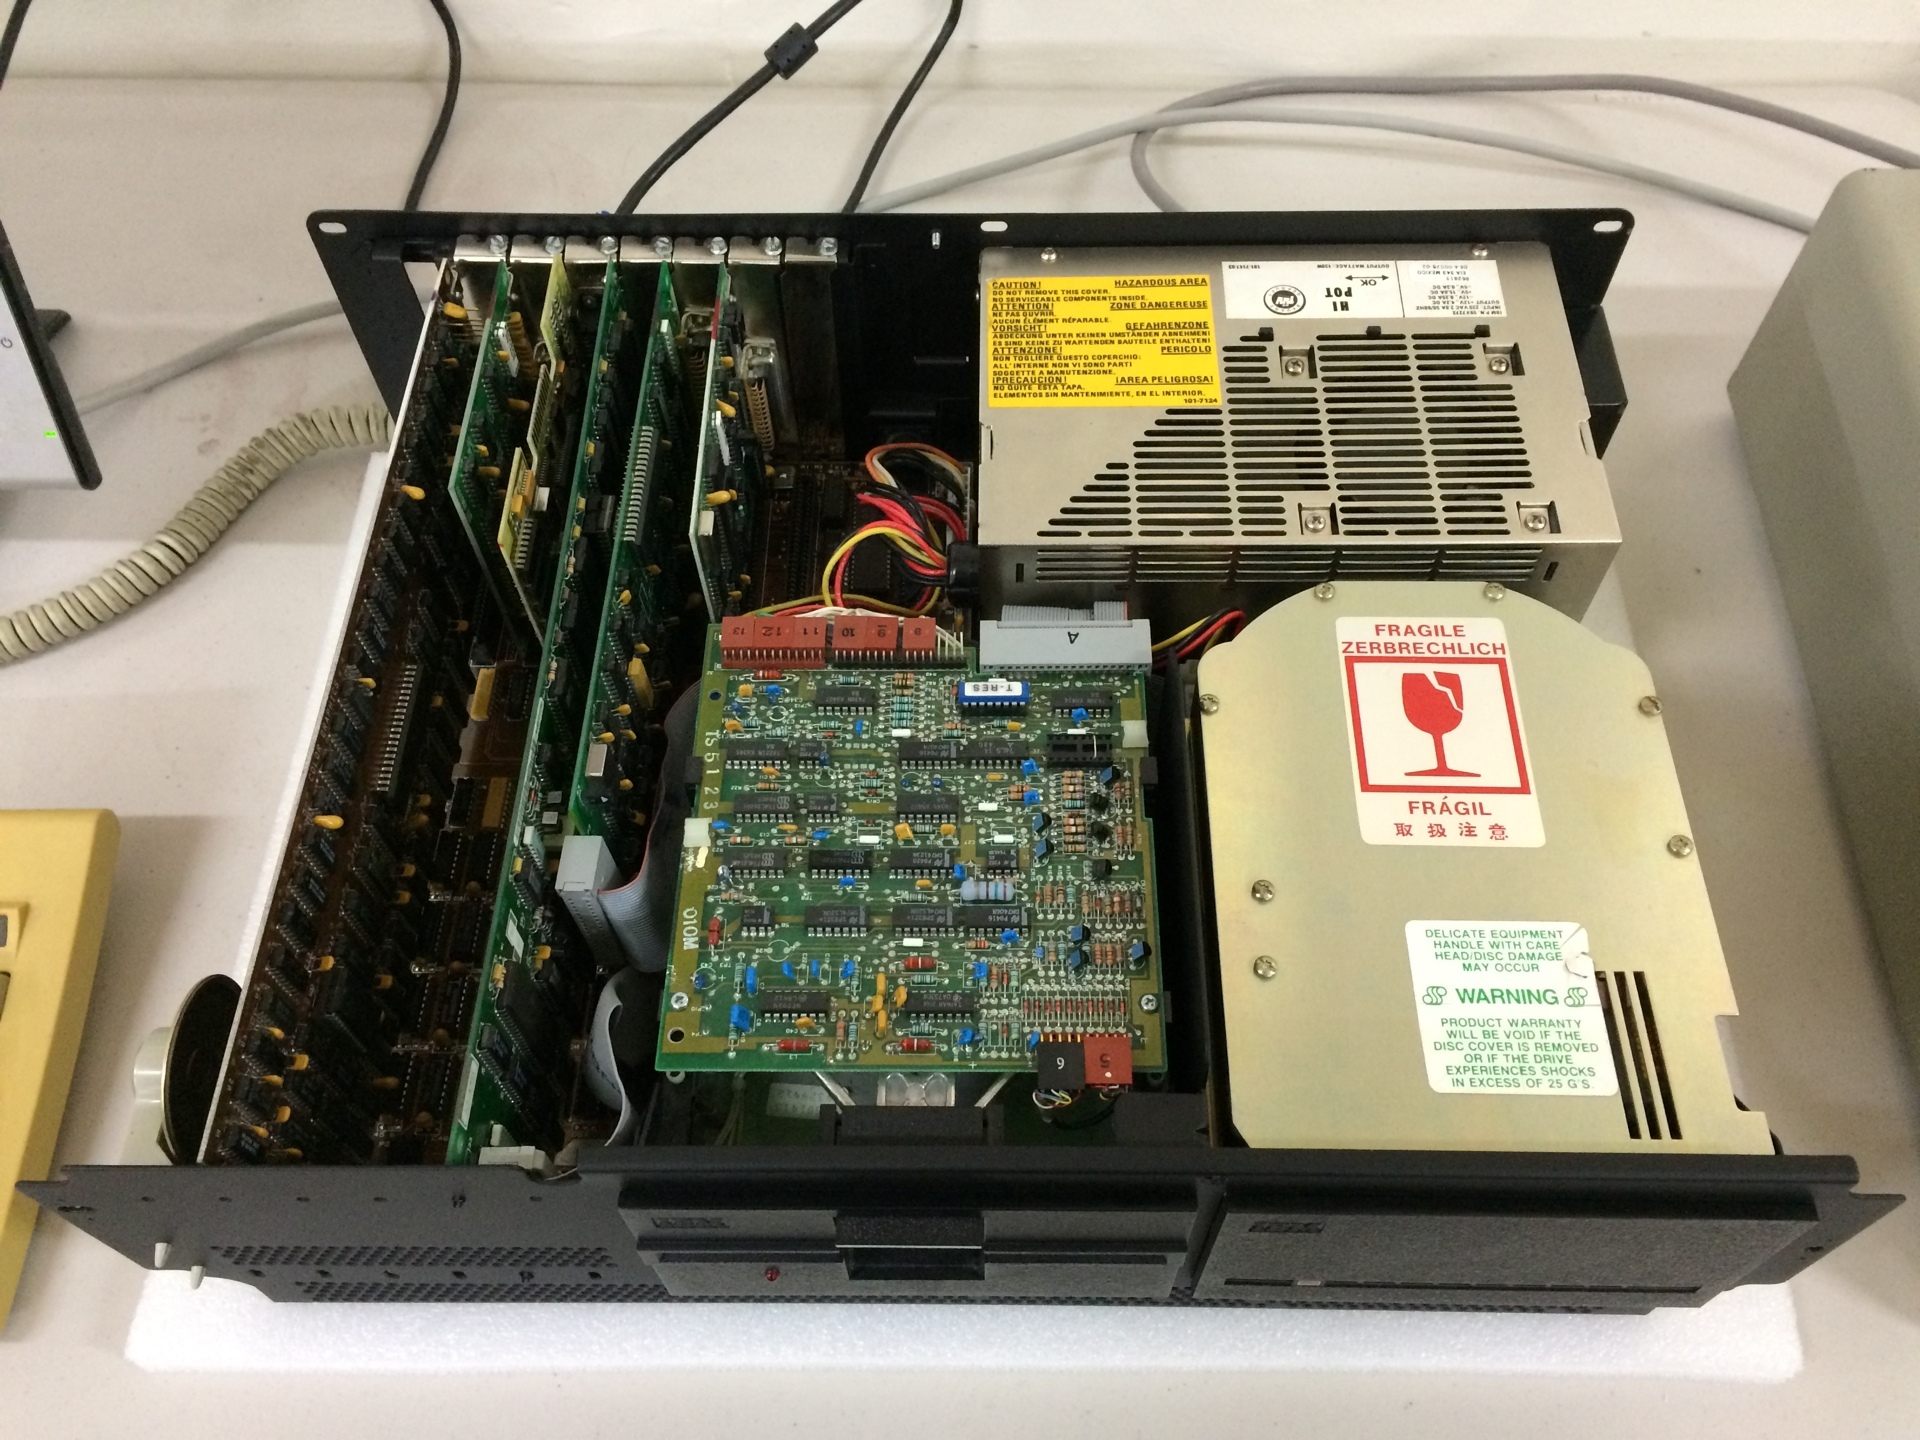
The inside of the power supply, which also serves as the main exhaust vent for the machine, was covered in 30 years of dust. So it needed to come apart for cleaning.

I thought this would be a simple process, but it ended up taking almost four hours from start to finish. The supply was dismantled back to the bare enclosure. All boards, switches and power connectors were removed and blasted with compressed air, with a stiff brush to remove any dust that had baked on the surface of boards and components. Every corner of the board and under every component was cleaned, nothing overlooked. The supply was then reassembled, bench tested and closed up. But it looked too good to not take at least one picture while it was still open.

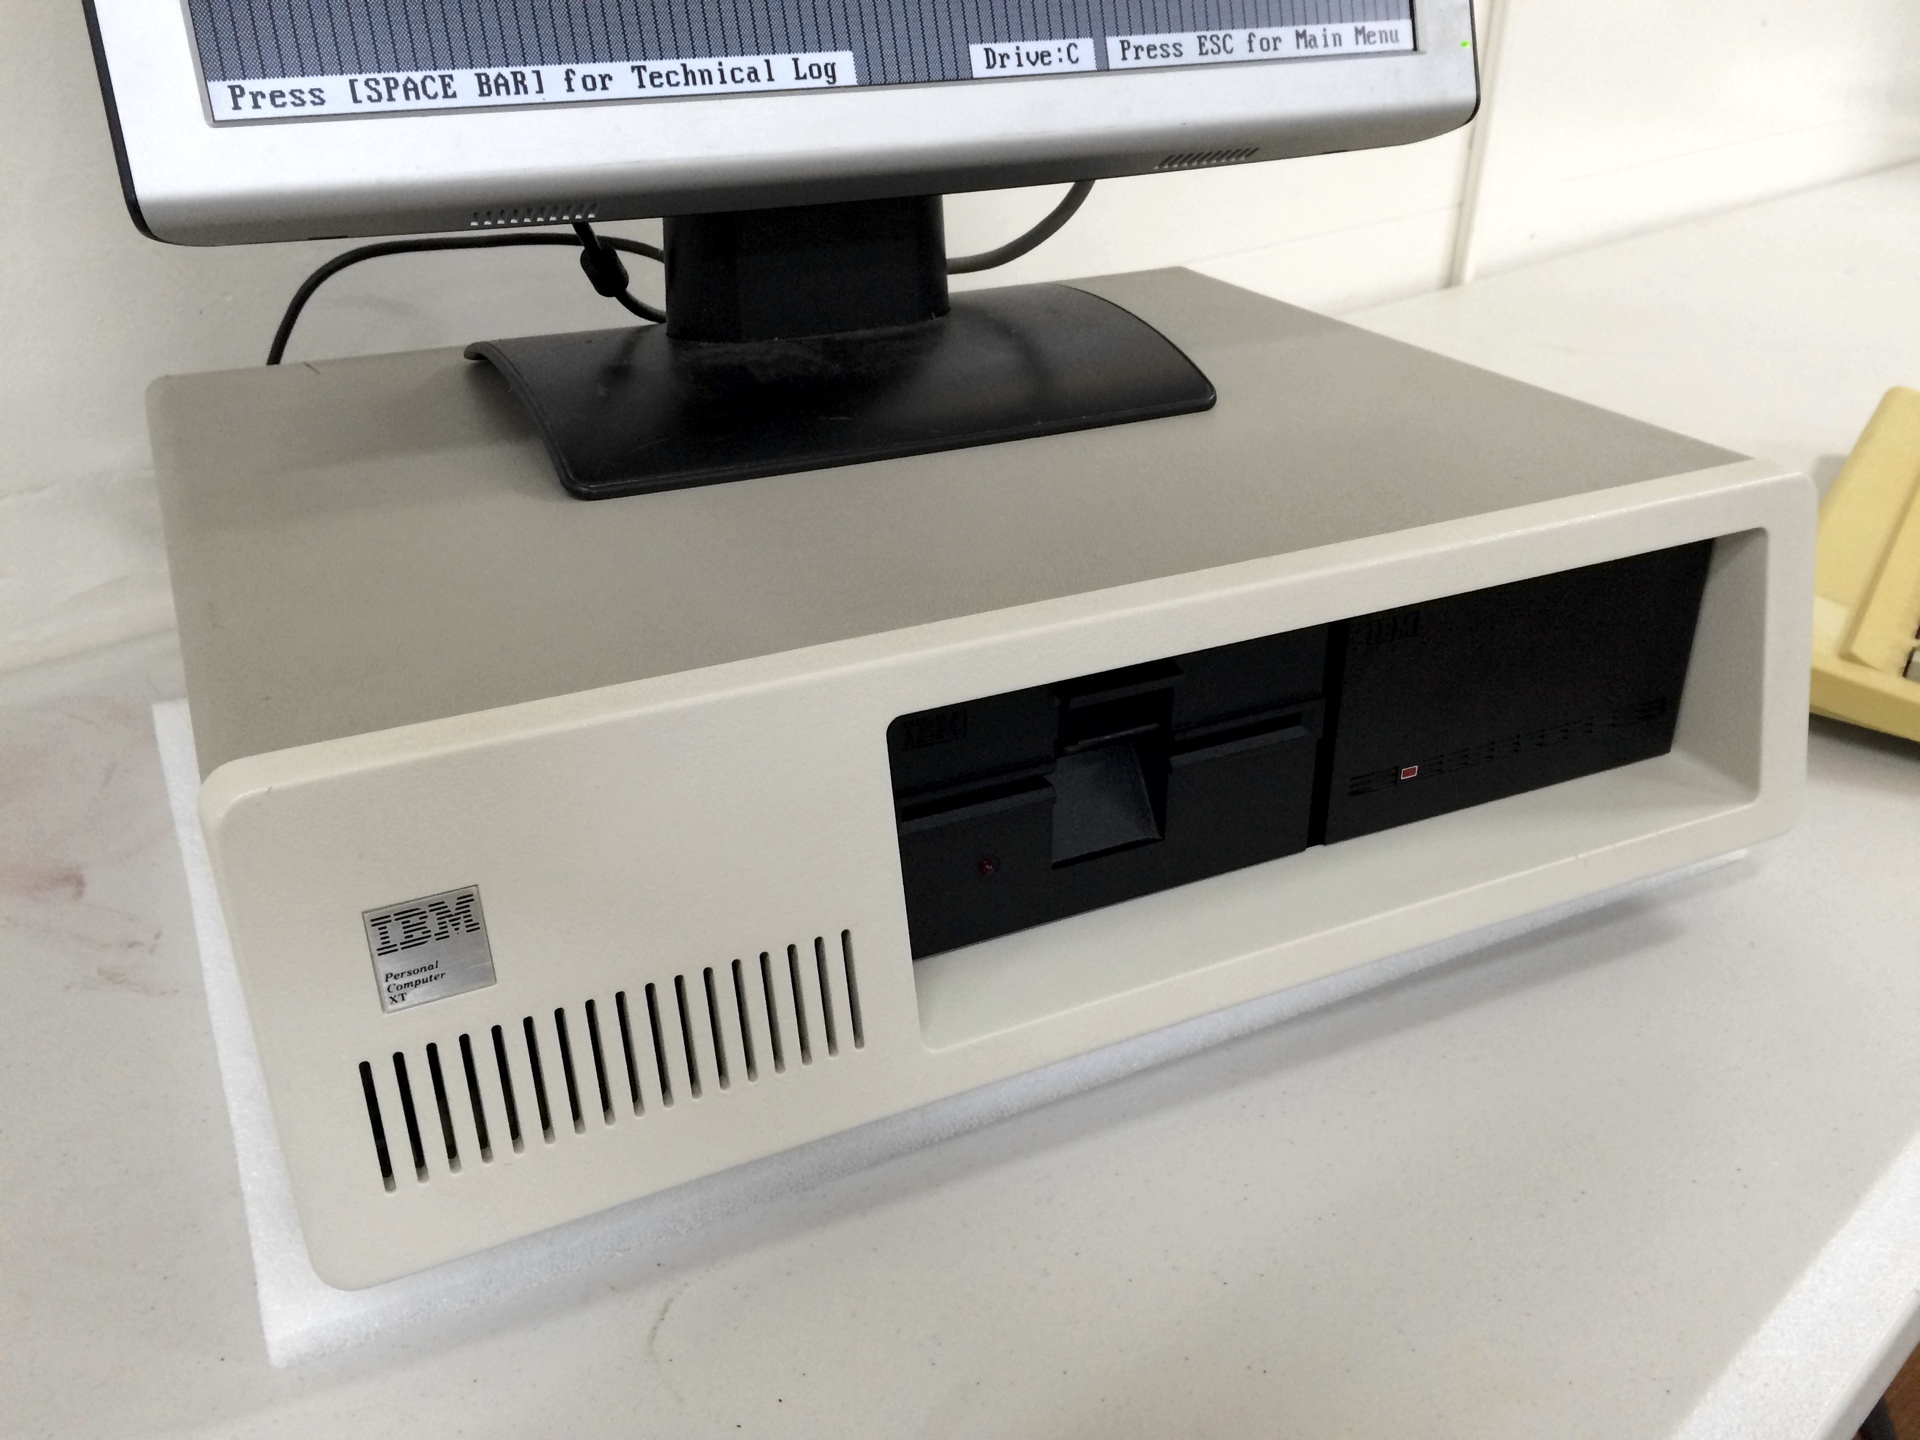
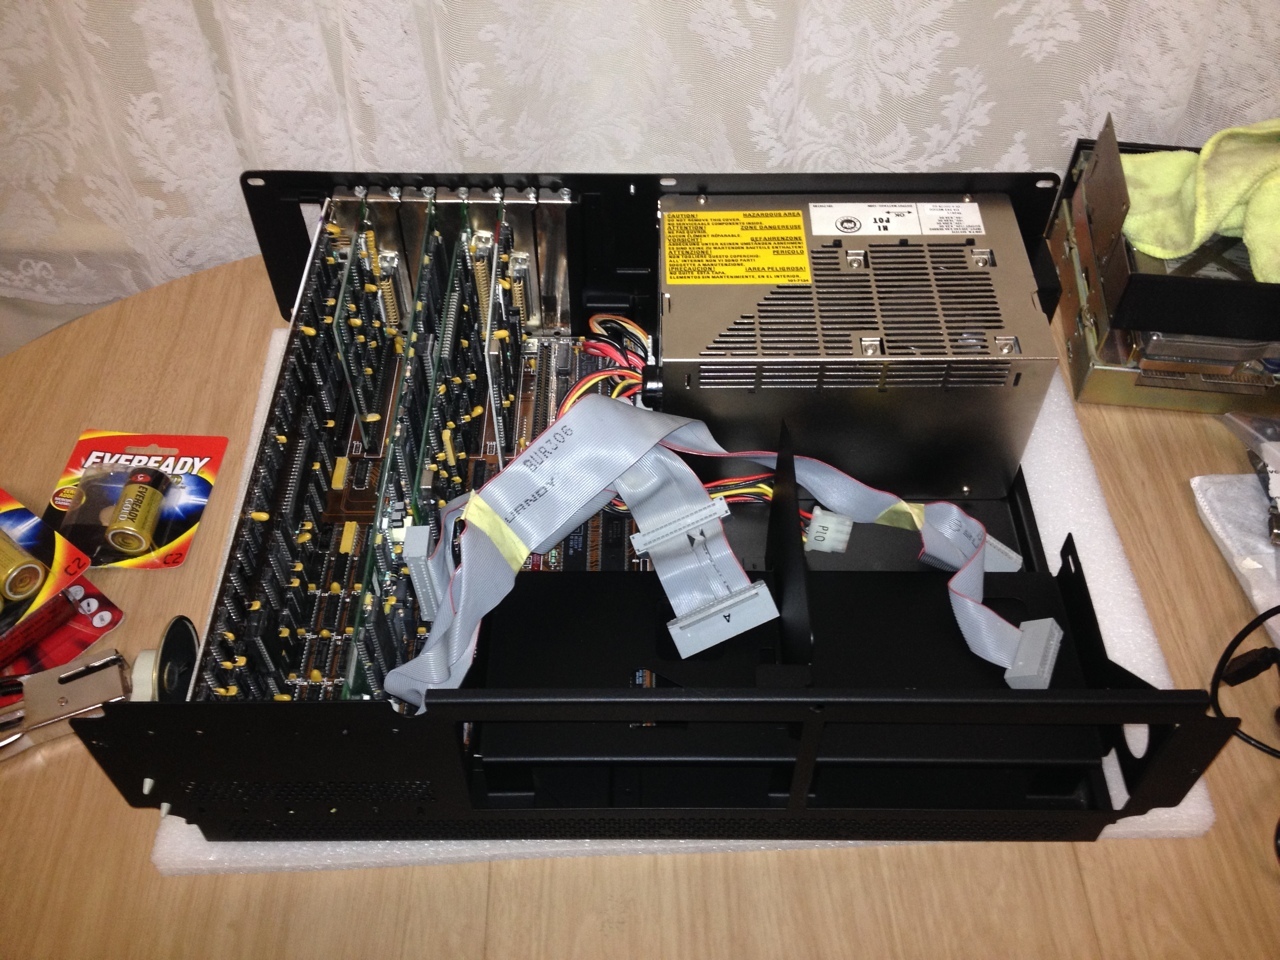
The motherboard, component cards and cables were all cleaned using the same compressed air and brushing process as the power supply. The components were then reinstalled in the freshly painted chassis and checked for alignment and card position to match the factory configuration. The machine powered up, so we’re off to a promising start.

There is still a lot of work to be completed. Some of the cabling on the hard drive needs to be repaired, many of the screws need to be replaced, the cork feet on the underside of the case need to be replaced, the outer shell needs to be cleaned and I still need to find a replacement 5.25" full-height floppy disk drive for it. There will be other issues that need to be addressed along the way that I haven’t even thought of yet, I’m sure.

Would anyone be interested in seeing updates to this build as it continues? I’d be happy to share some photos and information with the forums from time to time if so.

I’m also throwing together an album on Imgur with more detailed photos and descriptions as well if anyone wants to check it out.

http://imgur.com/a/gR3JW

8 Likes

Yep keep the updates coming.

That looks cleaner than many new PCs I have seen.

Do you have the original operating system, I think it was MSDOS 3.1?

looks awesome!

love seeing antique/vintage restorations

Good job! Wish you lived in Newcastle, I’d pay you to put an SSD into my 2012 Mini.

I remember those old IBM ads with the Japanese guy trying to pronounce Wangaratta.

1 Like

That would be this one.

I’ll keep the updates coming. Started tearing down the MiniScribe HDD (20MB!) over the weekend but need to source some replacement connectors for the activity LED from somewhere before I can finish that one. Also looking at replacement feet for it. Turns out those stick on cork floor protectors for furniture are the exact same thing, so a set of those should do.

2 Likes

Wow, i’d love to see the updates keep coming.

It’s like fixing up an old classic car, I wouldn’t do it and have no interest, but I really appreciate and respect the people (you) that take the time do it

I find it amazing that you spend the time and make the commitment to do it, please keep updating us.

1 Like

Wow, fantastic job! Very keen to see you take this to the end.

Finding replacement parts for a machine this old isn’t easy.

I managed to source a replacement IBM/Tandon 5.25" 360K drive locally for a reasonable price. Also came across some other interesting pieces, including an early IBM-branded Seagate ST-412 HDD and a Paradise 8-Bit VGA video adapter that both went into the machine.

So, the rare components have now all been sourced. The machine still needs to be assembled and the drive is in the process of running exhaustive drive performance tests in SpinRite that will take some time.

I’m aiming to have the machine built in time for a demonstration later this month.

3 Likes

I thought from the title it may have been a Wang… I had no idea that IBM had made computers in Australia! (Um… Wasn’t it Wang that was Aussie made? Google says Wang Labs US… anyways)

I hope you get to show this machine off once it has been restored.

I remember my first XT fondly - PC-DOS FTW!

Great work! I’d love to see more of the project as it progresses.

I think Wang computers were owned by a dude called Wang. It was Dell wot done them in.

I was encountering some issues with the Hard Disk, namely inconsistent reads and writes, so I’ve been investigating the cause. It couldn’t have been simpler. This machine uses a later revision drive controller manufactured by IBM and Xebec called the “IBM 20MB Fixed Disk Drive Adapter”, which is configurable through a series of switches on the card.

The card was configured for 615 Cylinders, 4 Heads and 17 Sectors Per Track which is common to drives such as the 20MB MiniScribe 8425 and Seagate ST-225. Because this machine now contains a Seagate ST-412, the card needed to be configured for 306 Cylinders instead. More information on this can be found here.

With the drive controller configured, the ST-412 successfully low-level formatted with the IBM Advanced Diagnostics disk. Then it was simply a matter of partitioning the drive, formatting and installing MS-DOS. I settled on MS-DOS 5 because it was one of the few working disks I had available.

Performing a surface scan with SpinRite shows that despite the age of this drive, it’s in remarkably good running condition. No bad sectors and the motor and stepper seek sounds are whisper quiet.

A small change of plans as well. The machine will be demonstrated tomorrow at the Adelaide Retro Computing Group meet, about two weeks ahead of schedule. Three days of late nights in preparation for it, but the machine works and is reassembled for the first time since March.

I’ll have some pictures tomorrow. :slight_smile:

5 Likes

Some photos from last night.

Some improvements still to be made:

  • Replace case screws with original replacements or replicas
  • Reattach factory case badges and labels
  • Replace cork disc case feet
  • Replace internal MFM and FDD ribbon cables with IBM factory originals (current ones are a bit chewed up, but will be good as spares)
  • Add Microbee CGA-VGA adapter for IBM Color Graphics card video output
  • Add AdLib Audio Card (if I can find one, or compatible Yamaha YM3812 OPL2 card)
  • Restore XT Keyboard (it’s currently a lot yellower than it should be)

A member of the retro computing group donated two packs of 5.25" floppies to the cause, which has made data transfer between machines much easier and allowed me to confirm the Tandon 5.25" drive is reading and writing correctly (we tested between some other IBM machines present on the night).

6 Likes

You should be very proud. Great effort!!!

Cheers everyone. :smiley:

The Seagate ST-412 developed a bearing whine recently, which is common on these old drives. I’ve considered attempting to strip down the motor, which is likely a Nidec or similar brand spindle motor, and replace the bearing assembly to resolve this problem. Still not sure whether this is possible or viable, but I’ll continue to look into it.

Another local collector offered me an IBM 8513 Color CRT Display, which is intended for a later IBM Personal System/2 but has a closer aesthetic to the XT case than the LCD it’s currently connected to.

Progress!

I went looking for some replacement parts, and ended up with a complete second IBM XT chassis, and another complete XT.

The XT chassis is incomplete and has some sheet metal missing as it was previously converted to hold a Pentium 4 board. It donated its screws, plastics and fittings to complete the chassis of the restored XT. I had considered scrapping the rest, but since these old XT cases are rather interesting in themselves, I’m considering having some welding done and then a powder coat so it could be used to hold a newer machine. Perhaps an AMD Ryzen machine in an IBM XT chassis?

The second machine is an unmarked XT clone. This case needed some repairs as well, and I’m currently in the process of rebuilding it and replacing some missing rivets that were holding it together. I’m confident I can make this second XT machine work as well, so now I’ll have two systems to mess around with.

I also purchased some other new components for the machine, including two Western Digital MFM/RLL controller cards, a LaserROM CD-ROM controller card, a complete set of genuine IBM MFM cables and replacement cork keyboard and case feet. Also included but not pictured is a Microsoft InPort Bus Mouse and controller card and an XT-IDE drive interface card with 64MB of CompactFlash storage for data transfer.

The cork replacement feet were a find in themselves. These are replica replacements, made of the same material and grain and custom made to IBM specifications for diameter and thickness. I didn’t expect to ever find a set of these.

With the replacement cork feet and the plastic screw cap from the donor chassis, I was able to finally complete the underside of the machine, more than a year after the chassis was repainted.

With the screws from the donor chassis, the XT now has a complete set of IBM factory genuine hex-slotted zinc plated screws as well, with enough spares left over should the machine ever need them.

The Seagate ST-412 had to be removed and has since been shelved due to the condition of the motor assembly. The bearing whine became progressively worse and while the drive still works beautifully, I would rather have something in better condition in there. The machine currently has the factory MiniScribe 8425 reinstalled, but another drive like a Seagate ST-225 could be on the cards at some point in the future.

Next, I’ll look into reattaching the factory labels and case badges, once I have the correct adhesives. If I order a replacement drive from overseas, I’ll order a sound card for the machine as well. The video card still needs an aftermarket CGA-VGA converter to allow the standard video hardware to interface with newer displays. I’ll be on the lookout for an appropriate era and model of IBM keyboard to match the system as well.

I have several other machine projects on the go as well now, including the Clone XT, two 486 based machines, a Commodore 64 and another Commodore machine that I’ll give everyone a sneak preview of…

…but that’s another thread in itself.

4 Likes

Fantastic work mate, on the XT. I’m really interested on the upcoming C64 and the A500 :slight_smile:
Good luck.

cool box for a hackintosh or even windows machine. excuse the blasphemy.